So I know some of you are wondering what exactly the baby’s
room looks like right now. Well it is
definitely still in a state of “coming togetherness” but there is progress to
be seen. Here’s an around the room view
of its’ current state.
This
first one is the entrance to the room along with the closet. I decided I had to hang at least one thing up
for pictures, so since I had already determined this piece would be going
beside the closet, I went ahead and hung it up.
I remember having this in my room as a child and my Mom gave it to me
not long ago, knowing I liked it. It
makes me smile still :)
This next picture is just showing the inside of the closet. I’ve organized the many clothes I’ve already acquired into boxes according to sizes. I figure that will make it easier to change them out as the time comes. We’d like to eventually put in some permanent shelves in the closet to make more efficient use of space to store stuff but that is second to the other stuff which really needs to get done before she is born.
Panning over, this is the window in the room. It takes a large portion of the wall that it is on. The curtains are obviously temporary until I get the real ones made. I’ve just got to go find material that I like. In three weeks, I plan to start working part-time (and can’t wait!!) so I’m hoping I’ll have some more time during the day to do things like this.
Here is where the bed is planned to be, along with the
rocking chair. I’m looking for a small
table to sit beside the chair that I can put a lamp on and other small
stuff. I also plan to find a place for
books beside the chair also. The mirror
sitting behind the chair I plan to put on the small wall to the right of the
yellow curtains and off to the left of the chair. I figured baby girl will have fun looking at
herself when she gets tall enough to stand in her crib.
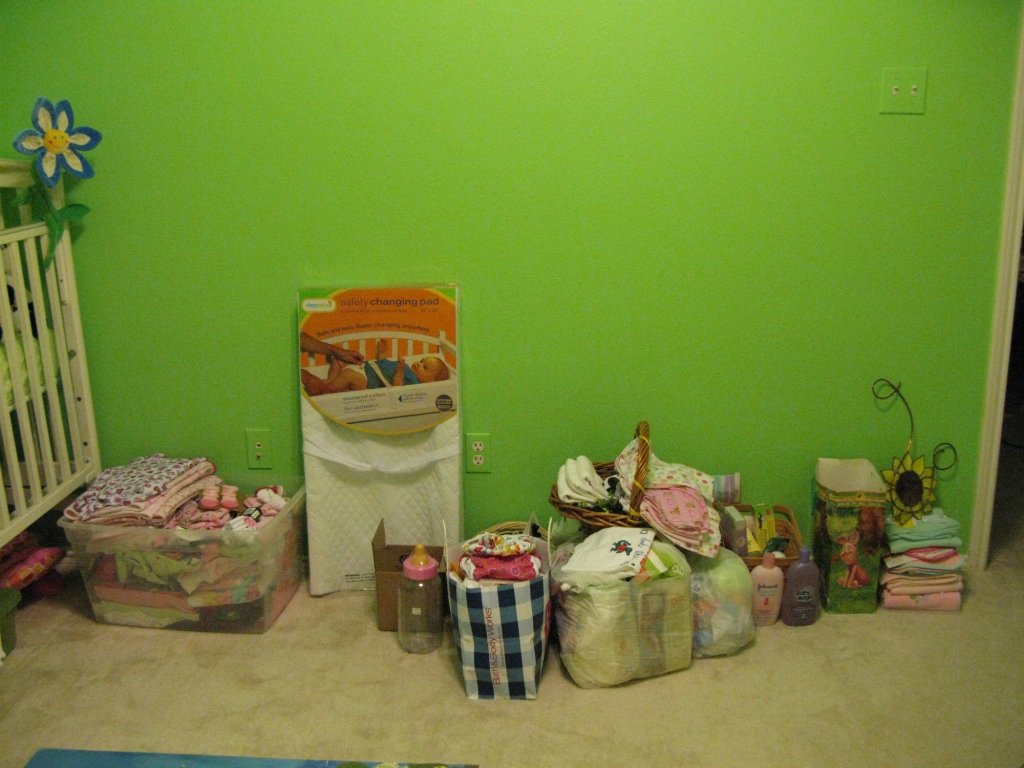
This final wall is where the changing table/dresser will
go. We’ll be moving it in sometime in
the next week or two. Most of the stuff
sitting there will either be going in or on top of the table. And you can see the doorway off to the very
right hand side, which is where we started our tour.
This is a mural that my friend Marianna is painting for
me. It is actually a collage and I just
LOVE it! It isn’t finished quite yet but
when it is completed, I plan to put it above the changing table. I’m so lucky to have talented friends and
family!
That concludes the baby room tour for now! I’ll post an
update once I’ve made some more decent progress on the room.